Clean and Disinfect Hair Brushes
Are your brushes full of hair, gray dust, and product residue? It's bad for your scalp. Here is how to refurbish them.
Recommended Materials
- Tail comb (or toothpick)
- Mild shampoo
- Baking soda
- Lukewarm water
- Towel
Steps to follow
Step 1
Start by removing all hair stuck at the base of the bristles. Use a fine tail comb or a toothpick to lift the mat of hair and pull. Cut with scissors along the rows if it is too tangled.
Step 2
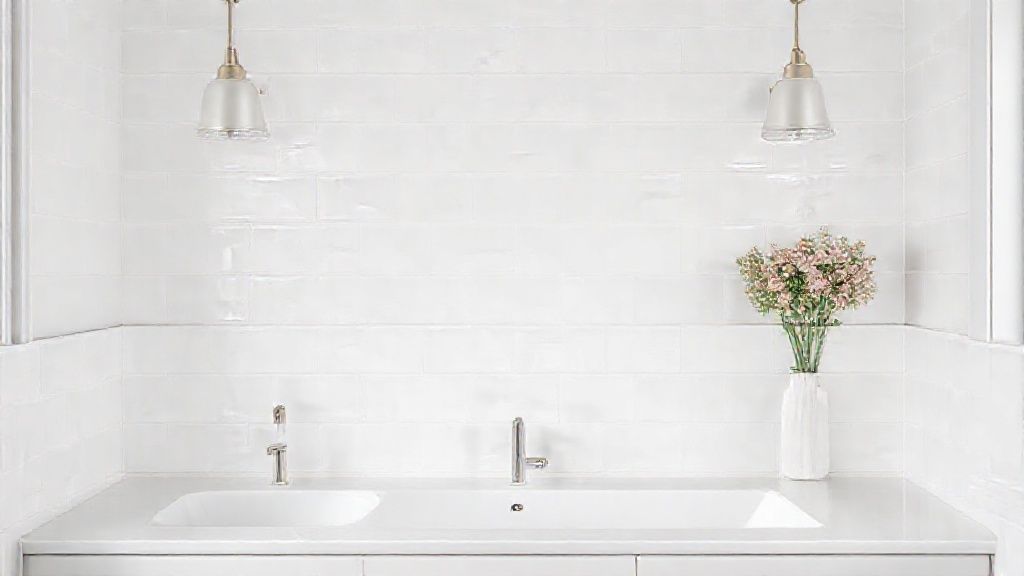
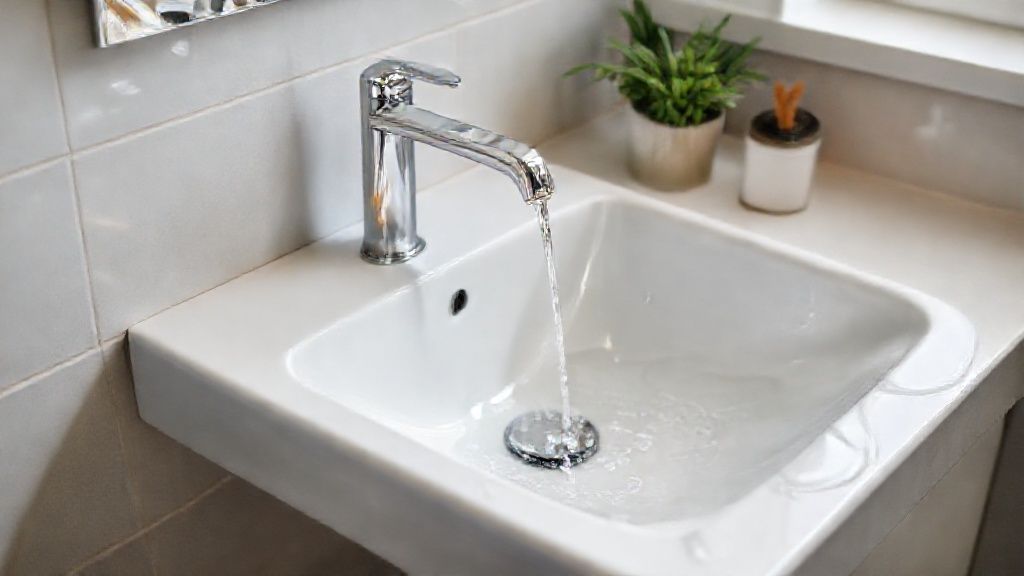
Fill the sink with lukewarm water. Add a dab of mild shampoo and a tablespoon of baking soda (baking soda helps dissolve oily sebum and styling product residues like hairspray).
Step 3
Immerse the brushes (only if they are entirely plastic) and soak for 15 to 30 minutes. The water will turn gray, this is normal.
Step 4
Rub the brushes against each other to clean the bristles, or use an old toothbrush to scrub between the rows and remove the gray dust stuck at the base.
Step 5
Disinfect accessories too: take advantage of the cleaning bath to throw in your clips, plastic elastics, and combs. They also accumulate grease and styling products. Rinse them well and dry them to prevent metal parts from rusting.
Step 6
Rinse thoroughly with clear water under the tap.
Step 7
Shake them vigorously to drain the water.
Step 8
Let them dry bristles down on a clean towel, in a ventilated place (not on a radiator because the heat can deform the bristles).
Frequently Asked Questions
What about wooden / boar bristle brushes ?
Never soak them! The wood would swell and split. Soak just the bristles in shallow soapy water (without wetting the handle), rub gently, rinse quickly, and dry immediately.
Where does the gray dust come from ?
It's an unsavory mix of sebum, dead scalp skin, ambient dust, and hairspray/gel residue. It's a nest for bacteria, hence the importance of cleaning your brushes once a month.
Precautions
- Do not use boiling water (risk of melting bristles or glue).
- Let dry thoroughly to avoid mold at the base of the bristles.