Installing a WiFi surveillance camera yourself
Monitoring your home from your smartphone has become easy and cheap. How to choose and install your camera?
Recommended Materials
- WiFi IP Camera (indoor or outdoor)
- Smartphone
- Drill (for wall mounting)
- SD Card (for local recording)
Steps to follow
Step 1
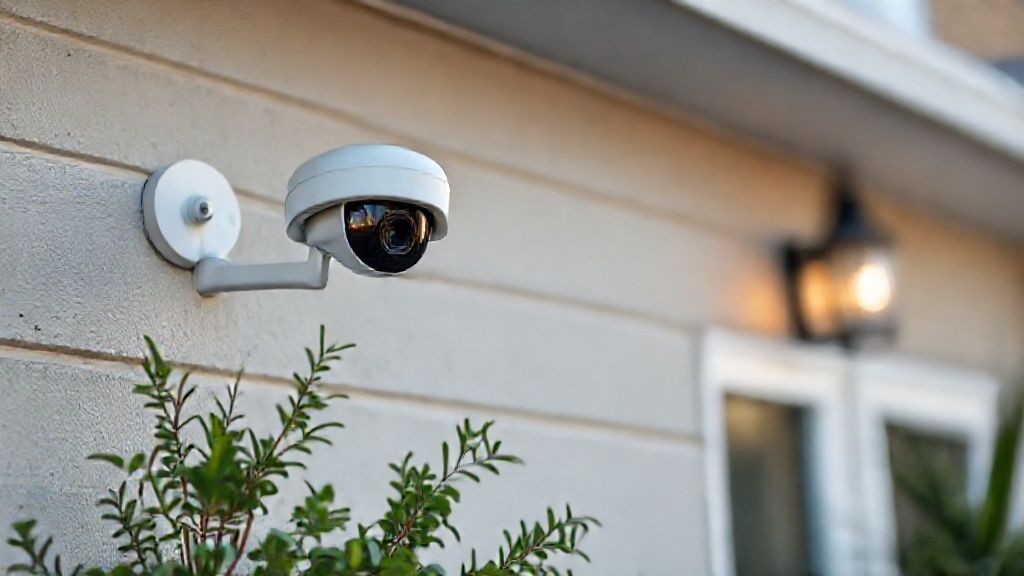
Choice of strategic location: The camera must cover the main entry points (front door, rear bay window, garage door). Install it high up (at least 2.50m) so that it is out of reach of an intruder who would like to tear it off or mask it, but accessible with a ladder for maintenance.
Step 2
Power supply: This is the critical point. If you have an outdoor outlet or attic nearby, drill to pass the cable (more reliable, 24/7 recording possible). Otherwise, opt for a rechargeable battery camera (3 to 6 months autonomy) or with a small integrated solar panel.
Step 3
WiFi connection: Before drilling, check with your smartphone that you pick up WiFi well at the exact location of the installation. If the signal is weak (less than 2 bars), the video will be jerky or inaccessible. Install a WiFi repeater halfway if necessary.
Step 4
Physical installation: Screw the bracket firmly to the wall (plugs adapted to the material: brick, plaster, wood). Orient the camera slightly downwards to prevent the sun from dazzling it and to see faces well. Protect the connectors from moisture with waterproof tape or a junction box.
Step 5
Software setup: Download the manufacturer's app. Scan the QR code. Activate 'Human' motion detection (to avoid alerts when the cat passes or a branch moves). Define privacy zones (digitally mask the street and neighbors' garden, it is a strict legal obligation).
Frequently Asked Questions
Cloud or SD Card ?
The Cloud (paid subscription) is safer: if the thief takes the camera, the video is already on the server. The SD card (free) is stored IN the camera: if it is stolen, the evidence is lost (unless you have a NAS or FTP backup).
Night vision ?
Essential. Check the infrared range (often 10-30m). Warning, if the camera is behind a window, the infrareds will reflect on the glass at night and you will see nothing (glare).
Precautions
- Respect privacy (do not film the public highway).
- Change the default camera password.