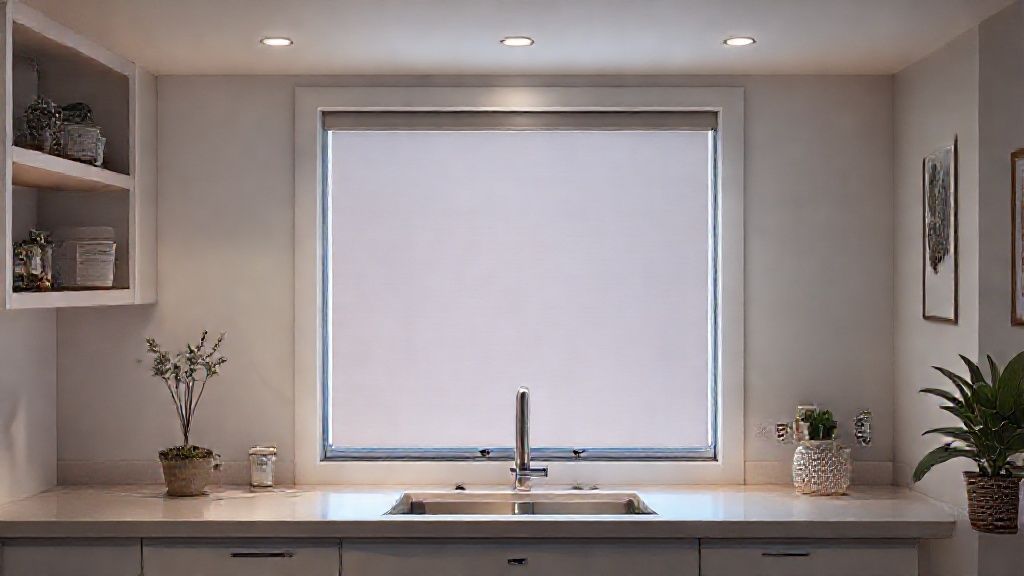
Insulate the Roller Shutter Box (Major Cold Source)
The shutter box is often a simple wooden or plastic box open to the outside. Insulate it!
Recommended Materials
- Shutter box insulation kit (foam + aluminum)
- Or extruded polystyrene boards
- Expanding foam (optional)
- Silicone seal
Steps to follow
Step 1
The problem: The roller shutter box (the casing above the window) is often a thermal sieve. It's just a thin board of wood or plastic in direct contact with the outside air. Cold air enters and street noise too.
Step 2
Opening: Locate the screws on the front face or the underside of the box. Unscrew and open. Watch out for dust. Clean the inside.
Step 3
Choice of insulation: You need thin but high-performance insulation. There are special kits (foam + aluminum sheet) or you can use extruded polystyrene (Styrodur) of 2 or 3 cm thickness. Avoid glass wool which settles and whose fibers can block the mechanism. Ready-to-use kits are often more expensive but much easier to install for a beginner.
Step 4
Installation: Measure the available space when the shutter is ROLLED UP (fully open). The insulation must NEVER touch the shutter apron, otherwise it will jam. Glue the insulation to the internal walls of the box (top, bottom, and front) with mastic glue or strong double-sided tape.
Step 5
Sealing (The secret): Air often passes through cracks. Once the box is closed, make an acrylic silicone seal all around the access hatch to block air.
Step 6
The strap passage: If you have a manual strap, it's a gaping hole. Install an airtight strap guide with a brush or rubber seal.
Frequently Asked Questions
Electric shutter ?
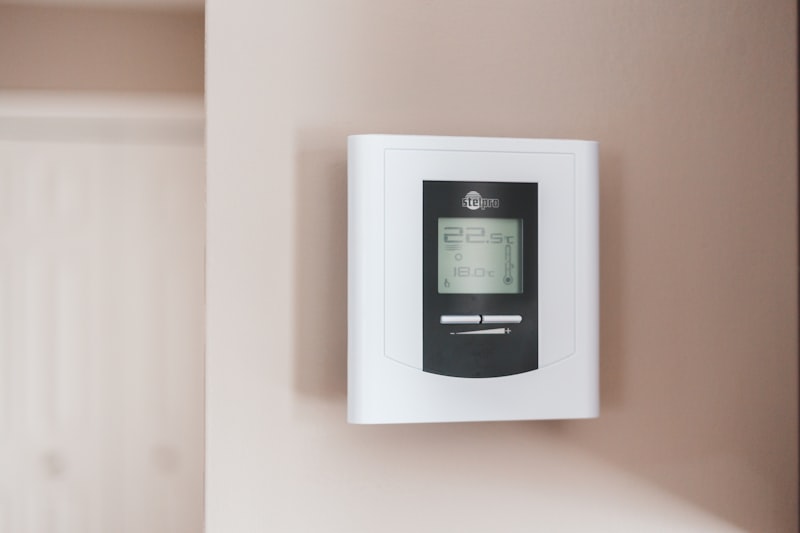
Cut the power before intervening! Watch out for the motor wires.
Precautions
- Do not block the shutter.
- Cut power if electric shutter.