Organizing your garage or DIY workshop
Never find the screwdriver when you need it? Transform your garage into a pro workshop.
Recommended Materials
- Pegboard
- Hooks
- Screw jars
- Heavy duty shelves
Steps to follow
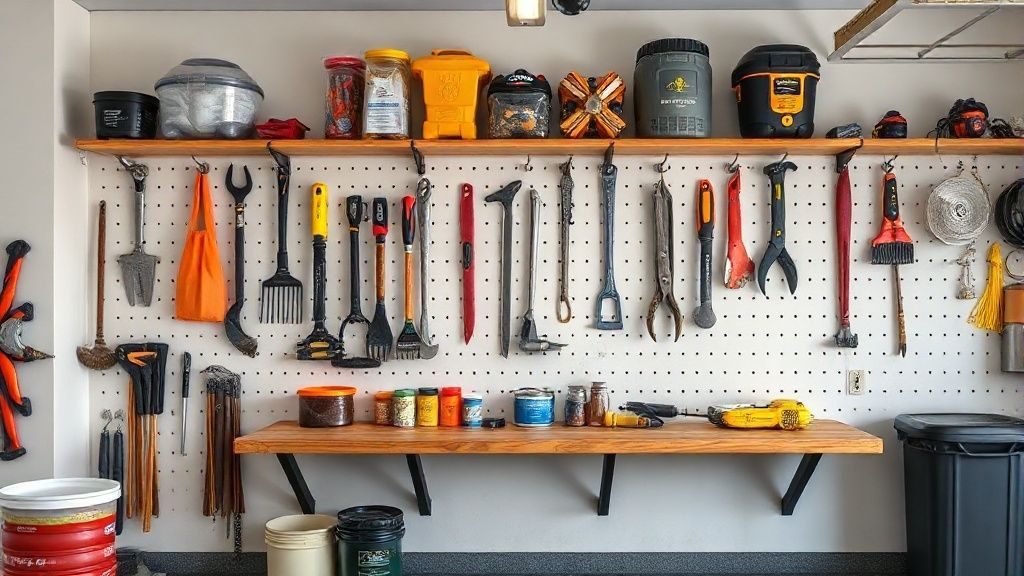
Step 1
Tool wall (Pegboard): Free up the workbench! Fix a large perforated panel (hardboard or metal) to the wall above your work surface. Hang all your hand tools (hammers, pliers, wrenches, screwdrivers) on it with hooks. Pro tip: trace the outline of each tool with a black marker on the panel. You will immediately see if one is missing and where to put it back.
Step 2
Hanging screws: Recover glass jars (jam, pickles) with metal lids. Screw the lids UNDER a high shelf. Fill the jars with screws, nails, bolts. Screw the jar into its hanging lid. It is visible, accessible, and takes up no space on the workbench.
Step 3
Space zoning: Define clear zones. Garden Zone (shovels, rakes, hose hung on the wall on vertical supports). DIY Zone (workbench, tools). Storage Zone (boxes, suitcases, Christmas decorations on heavy duty shelves high up). Sport Zone (bikes suspended by the wheel or from the ceiling by pulleys).
Step 4
Dangerous products: Store paints, solvents, gasoline, weed killers in a closed metal cabinet (ideally locked if you have children). Never transfer these products into food bottles.
Frequently Asked Questions
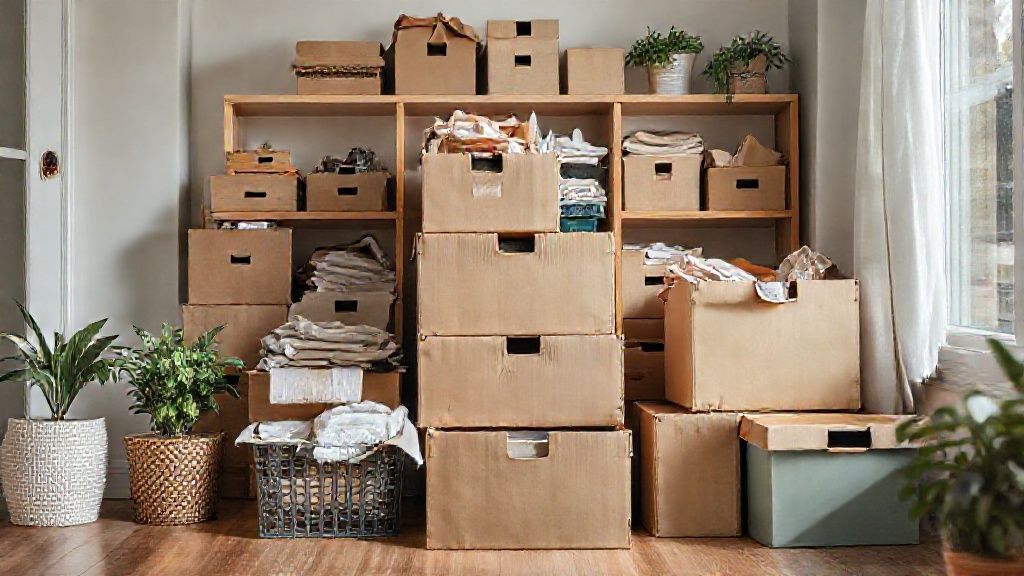
Humidity and boxes ?
The garage floor is often cold and damp. Never put cardboard boxes or fabrics (clothes) directly on the concrete, they will mold by capillarity. Use metal/plastic shelves or put everything on wooden pallets.
Bikes take up too much space ?
If you don't use them every day, hang them from the ceiling with a pulley system (very easy to raise/lower) or hang them vertically on the wall by the front wheel.
Precautions
- Good ventilation essential (chemicals).
- Fire extinguisher nearby.