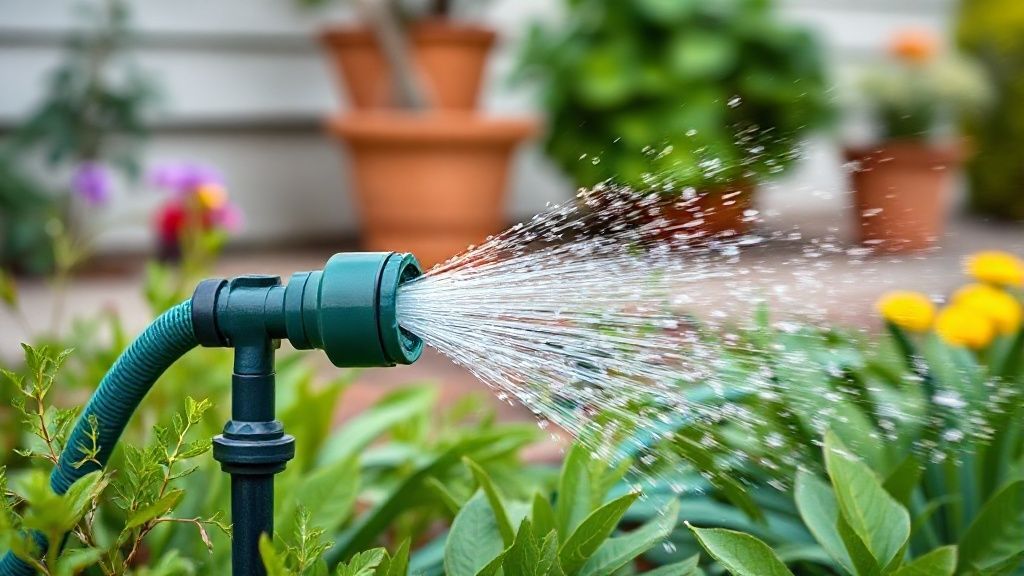
Smart Automatic Watering: A Green Garden Without Waste
Water at the right time and with the right amount. Smart controllers adapt watering to the weather to save water while saving your plants.
Recommended Materials
- Smart watering controller (tap timer)
- Garden hose or drip irrigation
- Smartphone
- Wi-Fi Bridge (often included)
Steps to follow
Step 1
Screw the smart controller directly onto your outdoor faucet (standard tap connector). Tighten by hand, not with pliers, to avoid breaking the plastic. Connect your garden hose or drip irrigation system to the outlet.
Step 2
Connect the unit to your home Wi-Fi. Often, these devices work with a small bridge to be plugged into an indoor socket near the garden to ensure signal range through walls.
Step 3
Program your watering cycles via the app: for example, every 2 days at 5 AM. Watering early in the morning is ideal to avoid evaporation due to the sun and limit diseases (fungi) that develop at night on wet leaves.
Step 4
Activate the 'Weather Adaptation' (Smart Watering) feature. This is the main benefit of being connected: the system checks the local weather. If rain is forecast, watering is cancelled or reduced automatically. If there is a heatwave, the duration is increased.
Step 5
You can trigger watering remotely manually if you see your plants are thirsty, or stop it instantly if you are organizing a barbecue on the lawn and the automatic watering was about to start.
Step 6
Clean the filter: at the inlet of the controller (tap side), there is often a small metal mesh filter. Check it regularly because if it gets clogged with sand or limescale, the water flow will be reduced and your plants will be poorly watered.
Frequently Asked Questions
Should I bring it inside for winter ?
YES, absolutely. Frost is the deadly enemy of plastic valves and internal mechanisms containing water. Dismantle it, remove the batteries, and store it in a warm place as soon as the first frosts arrive.
Is it compatible with a rainwater tank ?
Yes, provided you have a pump that pressurizes the water. Most controllers need a minimum pressure (0.5 bar) to open the valve membrane. For a gravity tank (without pressure), you need specific 'low pressure' models.
Precautions
- Check the tightness of the connections (use Teflon tape if needed).
- Change the batteries at the beginning of the season.